IT:Host name
Setting a Hostname for an ADSL2+ Broadband connection
This is very much something you will have to arrange for yourself. It is done through any agency that can register a domain name on your behalf. For example Purple Cloud provide a comprehensive range of solutions. You will need to register a domain name with them, and then arrange a sub-domain to be added to your main domain. This may well look something like home.yourname.net (you having first registered yourname.net). You then request that the sub domain just created be forwarded to 87-194-37-161.bethere.co.uk as set up on the ADSL request
It may be that might also wish 87-194-37-161.bethere.co.uk as a host name to resolve to home.yourname.net. This is called reverse DNS resolution. It is a feature provided on request when you specify the options for the ADSL request. You will have to indicate that you want the reverse DNS to map to home.yourname.net when you specify this option.
Specific Example using Purple Cloud
Below is shown a specific example of configuring sub-domains for use with the ADSL2+ service.
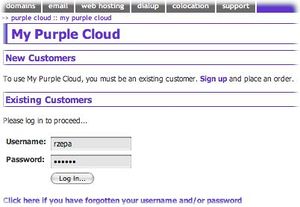
- Connect to the Service provider and log in using the account number they provide you with.
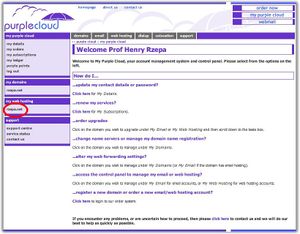
- Once connected, the domains you have registered will be shown on the lhs, under my web hosting. Click on the domain you wish to add a sub-domain to.
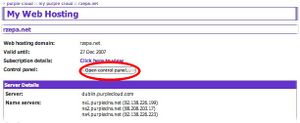
- You now need to click on the Open control panel button.
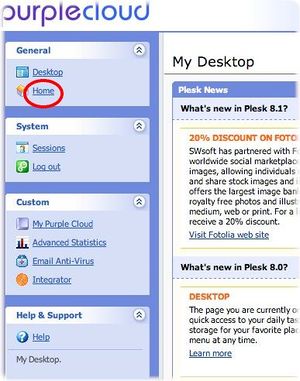
- A Control panel desktop appears, from which you select Home
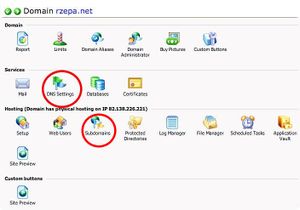
- A list of management buttons can be seen, which should include one labelled DNS Settings and one labelled Subdomains.
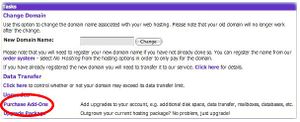
- If no such buttons appear, you will have to purchase them. Go back to step 3, and instead of control panel, select purchase addons.
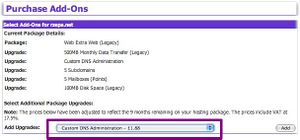
- Select Custom DNS registration and then Five sub-domains and purchase both.
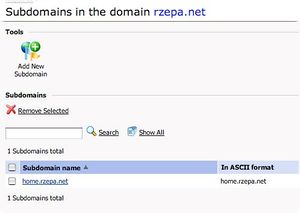
- Go back to menu 5, click on Subdomains and add one appropriate for your needs.
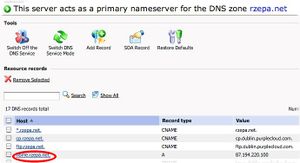
- Go back to menu 5, and now select DNS Settings. Click on the sub-domain you have just created. You will need to edit its A record.
- Enter the Static IP address allocated to you by the ADSL2+ service provider.
- Repeat steps 6-8 for as many sub-domains as you wish to create.

